
AI Creative Workflows
How to Use Kenerate AI: Step-by-Step Image & Video Guide
Learn how to use Kenerate AI to create images, videos, music, and voiceovers. Follow a practical workflow for prompts, model choice, credits, revisions, and publishing.
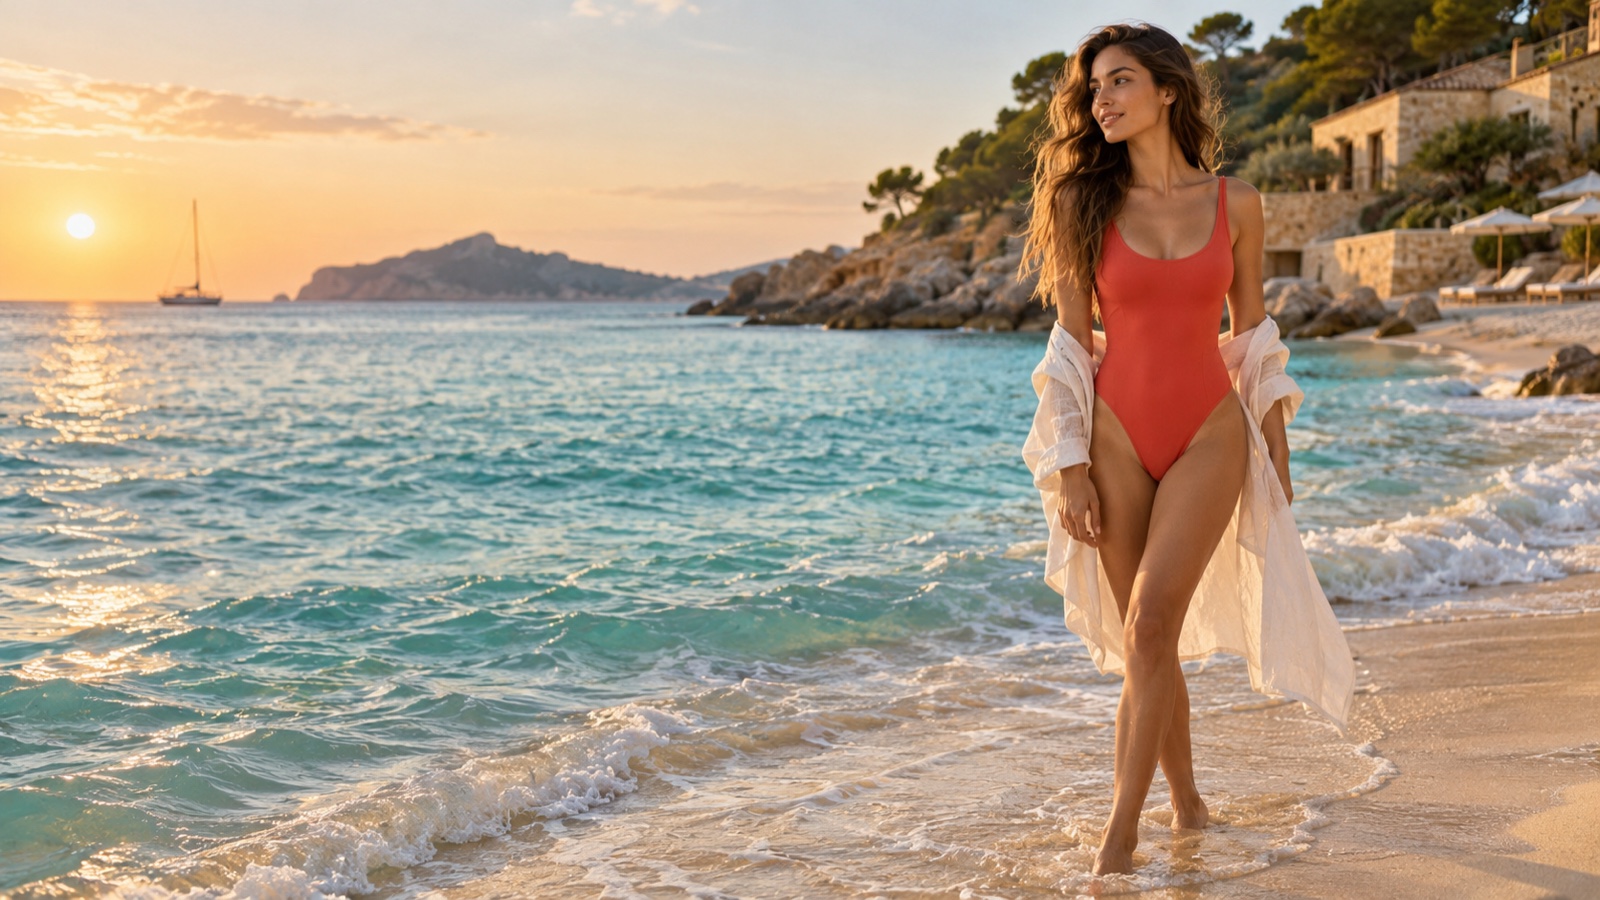
Kenerate AI is a creative workspace for generating and editing visual and audio assets with AI. To use it well, begin with one concrete deliverable, choose a tool that accepts your input, describe the result in observable terms, check the displayed credit estimate, and review the output before using it. This guide walks through that process for images, video, music, and voice, then shows how to turn a beachwear campaign brief into a set of usable drafts.
Quick answer: How do you use Kenerate AI?
- Open the Kenerate AI workspace and sign in.
- Choose a dedicated image, video, or audio tool, or start a conversation with the Agent if you need help planning several assets.
- Enter a prompt or upload source media that you have permission to use.
- Select a compatible model and set the output controls, such as aspect ratio, duration, or resolution when available.
- Review the estimated credit cost and generate a first draft.
- Inspect the result at its intended size, change one variable at a time, then download or continue editing.
The labels, model availability, and settings can change. Confirm the current options and cost in the workspace before submitting a job.
Contents
- Before you start: define the asset
- Choose a studio or the Agent
- Create an image step by step
- Create a video from text or an image
- Add audio and make a complete creative set
- A practical beachwear campaign workflow
- Write prompts that produce useful drafts
- Compare models without wasting credits
- Review, revise, and prepare files for publishing
- Credits, privacy, and usage rights
- Frequently asked questions
Before you start: define the asset
A prompt works better when it answers a production question. Before opening a generator, write down the deliverable, audience, destination, source material, and the details that must stay accurate. “Make a summer campaign” is a theme; “make a vertical product image for a resortwear landing page, keeping the swimsuit color close to the reference” is a brief you can evaluate.
Use this short checklist:
- Deliverable: still image, short video clip, music bed, voiceover, or a group of assets.
- Audience and placement: product page, social post, presentation, ad, or personal concept.
- Inputs: text only, product photo, reference image, clip, script, or audio.
- Must-keep details: product color, silhouette, character, framing, brand-safe setting, or spoken wording.
- Output format: aspect ratio, resolution, duration, file type, and language if the tool offers those controls.
- Review criteria: what would make the result usable, and what would make you reject it?
This step prevents a common mistake: choosing a popular model before checking whether it supports the input and output your job requires. A model is only useful when its capabilities match the brief.
Choose a studio or the Agent
Choose a dedicated studio when you already know the task. A text-to-image or image-editing workflow is a direct route for a still. A text-to-video or image-to-video workflow makes sense when the output should move. Audio tools are appropriate for a track or voice asset. The individual tool page is the place to confirm accepted file types and controls.
Choose the Agent when the job is still taking shape or spans several media types. You can describe the goal in plain language and ask it to propose a sequence of work. For example: “Plan a six-second vertical resortwear teaser from this product photo. First suggest three shots, then help me create a still for the opening frame.” Treat the Agent as a planning and generation partner: you remain responsible for approving assets, directing revisions, and assembling the final piece.
A practical rule is to use one tool for one well-defined output. If you need a sequence of clips, plan each shot separately unless the current interface clearly supports a multi-scene workflow. This makes it easier to replace one weak result without redoing an entire project.
Create an image step by step
- Choose the image task. Use text-to-image for a new scene. Use an image-based workflow when you want to transform or build on a source image. Check the selected model’s input requirements first.
- Prepare a clean reference. Use a sharp, well-lit image with the product or subject visible. Remove unrelated objects from the source when possible. A reference guides generation; it does not promise exact preservation.
- Write the prompt. Name the subject, action or arrangement, setting, composition, lighting, style, and constraints. Put critical visual details near the beginning.
- Set the output. Choose an aspect ratio and resolution that fit the final placement. If the image will be cropped into several formats, leave safe space around important details.
- Compare the estimate. Check the credit estimate before running the generation. Higher resolutions, model choice, or multiple outputs may change the cost.
- Review the draft. Zoom in on faces, hands, labels, product shape, shadows, and small text. If the result misses the brief, revise the prompt or settings before downloading.
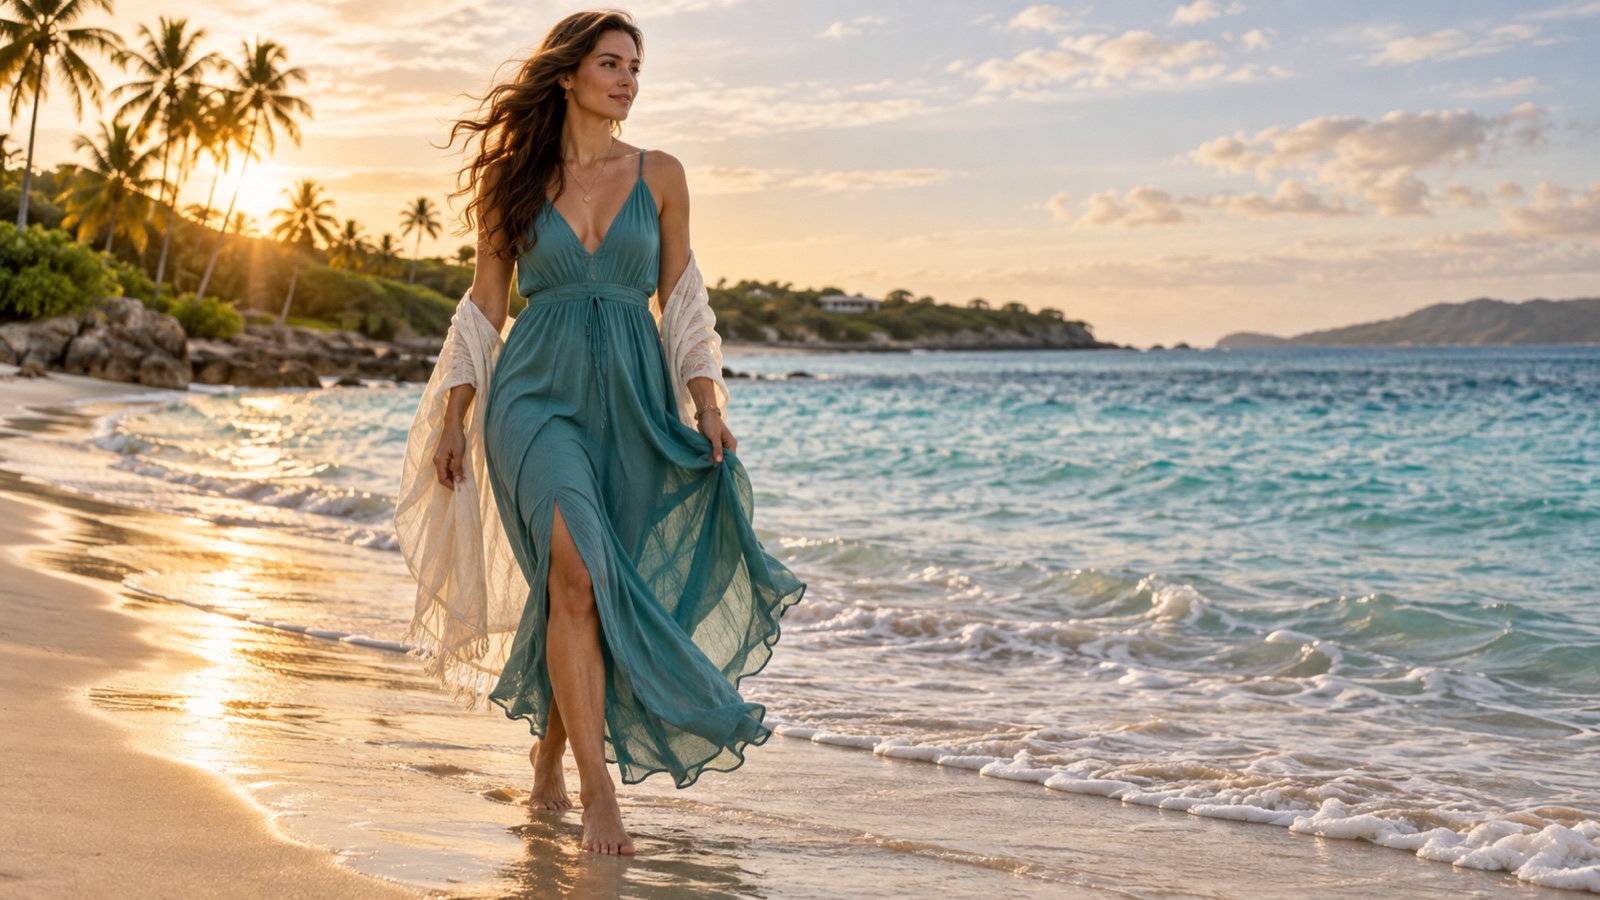
For example, a useful starting brief for a resort product image is: “Photograph the adult model wearing the supplied teal one-piece at a quiet tropical shoreline, full-length vertical frame, late-afternoon side light, premium travel editorial, keep the garment color and cut close to the reference, leave clear space above the horizon, no added text.” Add exact text later in a design tool if it must be correct.

If you need ideas, browse the Kenerate AI prompt library, then adapt a prompt to your subject, product, audience, and format. A prompt library is a starting point, not a substitute for describing what your own project needs.
Create a video from text or an image
For text-to-video, describe a short scene with one main subject and one simple action. Specify the camera behavior only if it matters: a gentle push-in, a fixed frame, or a slow pan is easier to judge than several simultaneous camera moves. Then select the supported duration, aspect ratio, and model.
For image-to-video, begin with a still that already has the right subject, composition, and lighting. Describe how the scene should move, not every detail that is already visible. A clear instruction might be: “The adult model takes two slow steps along the shoreline while the camera makes a gentle push-in; preserve the swimsuit color and keep the horizon level.” Avoid asking for a complicated sequence in one short generation.
Before submitting, check whether the selected model supports your source image, target duration, and any reference controls you need. Generate a first take, watch it at normal speed, then inspect the opening and ending frames. Look for warped products, flickering details, unstable faces, unnatural movement, and camera motion that makes the shot hard to edit.
If the source is a product photo, the product photo to video guide can help you plan the reference and motion brief. The same core idea applies to other images: start from a frame worth keeping, then request the smallest motion that supports the message.
Add audio and make a complete creative set
Treat music and voice as separate deliverables with their own review criteria. For a music cue, describe mood, pace, energy, instrumentation, vocal preference, and intended duration. For a voiceover, finalize the script first; note the target language, pronunciation, tone, and pacing. Then check the result with the visuals rather than approving it in isolation.
A small campaign can use a hero image, several short video shots, and an audio layer. Create the visual direction first so that music and narration support the same mood. Keep source files and version notes together, especially if another person will edit the final sequence.
Do not assume that generation automatically assembles a finished advertisement. A publishable piece may still require an editor to choose takes, trim clips, balance sound, place exact text, add captions, and export the final aspect ratios.
A practical beachwear campaign workflow
Imagine a resortwear brand preparing a vertical social teaser and a matching product-page image. The goal is to show the garment clearly, communicate a warm coastal mood, and leave room for a human editor to add accurate campaign copy.

1. Write the brief
Use one sentence: “Introduce a lightweight teal swimsuit to travelers planning a beach holiday; use an elevated, sunlit mood; deliver a vertical social clip and a still for the product page.” Add constraints: adult model, garment color should stay close to the product photo, no invented logos, no claims, and no text inside the generated image.
2. Make the opening still
Upload a product reference that you are allowed to use. Ask for a clean, readable composition before adding complicated scenery. Generate a small number of alternatives and choose the one that shows the garment most accurately. Save the prompt and settings with the selected image so the team can recreate the visual direction.
3. Plan three simple shots
Break the teaser into separate moments:
- A wide opening that establishes the shoreline.
- A medium shot that shows the garment and model clearly.
- A close detail of fabric, a seam, or another product feature.
For each moment, decide the camera distance, the subject’s single action, and the clip’s purpose. Generate clips individually when the interface and model support that approach. The sequence can then be assembled in an editor, where pacing and exact text remain under your control.
4. Add sound and copy
Create a music cue that fits the edit’s length and intended audience. Draft the voiceover separately if the campaign needs one. Add price, sizing, product claims, captions, and brand marks in a design or editing tool so the final copy can be checked letter by letter.
5. Select and export
Watch every candidate at phone size. Keep only shots where the garment stays recognizable and the action feels natural. Make sure the first second communicates the subject, the ending has a clean edit point, and the product-page still has enough resolution and safe space for the site layout.

Write prompts that produce useful drafts
Use this structure:
Subject + action + setting + framing + light + style + constraints.
A prompt should prioritize observable facts. “Beautiful cinematic scene” is open to interpretation. “Adult model in a teal resort swimsuit, walking beside calm water, full-length vertical composition, late-afternoon side light, premium travel editorial, garment color close to the reference, no text” gives you details to accept or reject.
For video, add one movement instruction after the visual description. For music, state the emotional role and pace. For voice, state who is speaking, to whom, in what language, and at what speed. Keep the prompt focused enough that you can tell which instruction improved the result.
Use a negative constraint only when it prevents a real failure. Examples include no added lettering, no extra accessories, or keep the background uncluttered. Long lists of unrelated exclusions can make a prompt harder to interpret. If a control already exists in the interface, set it there rather than relying on prose.
Prompt template for an image
“Create a [type of asset] for [audience and placement]. Show [subject] [action or arrangement] in [setting]. Use [framing and aspect ratio], [lighting], and [style]. Preserve [important reference details]. Avoid [specific unwanted element].”
Prompt template for a short video
“Create a [duration] [aspect ratio] clip for [placement]. Show [subject] performing [one simple action] in [setting]. Use [camera movement] and [lighting]. Keep [important detail] consistent with the reference. End on [useful edit point].”
Revise one variable at a time
If the garment changes, simplify the action and make the reference constraint more explicit. If the composition is crowded, remove secondary objects. If the light is wrong, keep the camera and subject the same while changing only the lighting phrase. If a generated face or hand looks unnatural, decide whether the shot can be reframed, edited, or should be regenerated. Small changes make the next result easier to evaluate.
Compare models without wasting credits
There is no universal “best” model. Start by checking whether it accepts your input and can produce the output format you need. Then compare a small group on the same brief, same reference, and same settings where possible.
Use a simple scorecard:
| Question | What to inspect |
|---|---|
| Does the model support the task? | Input type, output format, duration, and aspect ratio |
| Does it follow the brief? | Subject, action, composition, and lighting |
| Does it preserve the reference? | Product color, shape, character, or scene details |
| Is the result usable? | Artifacts, crop safety, motion stability, and sound |
| Is it worth the cost? | Displayed credit estimate compared with the importance of the asset |
Record the model name, prompt version, settings, estimate, and a short note about quality. Change only one setting between comparisons if you want to learn which control made a difference. Use the same success criteria for every candidate instead of choosing the most impressive-looking preview.
Review, revise, and prepare files for publishing
A strong review looks at both the asset and its intended use. Check the image at its final crop, the video at normal playback speed, and the audio with the actual edit. Inspect anatomy, product details, backgrounds, text, transitions, music levels, language, and captions. Review whether a viewer can understand the piece without extra explanation.
Before export, make a small delivery checklist:
- Correct aspect ratio and resolution for each placement.
- Consistent product color, shape, and branding.
- Accurate text, subtitles, prices, and product claims.
- Clear filenames and a selected final version.
- Permission to use the inputs and any music or recognizable identity.
- Human approval for public-facing or paid campaign material.
Keep one approved source for each final asset. If the team needs additional sizes, make those crops from the selected master and inspect them separately. A technically successful generation is only a draft until someone checks it against the brief.
Credits, privacy, and usage rights
Check the credit estimate shown for the selected model and settings before every generation. Model, resolution, duration, and output count can affect the displayed cost. Make a lightweight first draft before requesting high-resolution alternatives, and reserve some budget for revisions. Review the current Kenerate AI pricing page and your account for current plan, credit, and purchase terms; these details can change.
Only upload images, clips, scripts, and audio that you have permission to use. A generated result does not automatically clear rights to a source photo, logo, voice, music, or recognizable person. For commercial work, read the current service and model-provider terms and review applicable disclosure rules before publishing.
Treat confidential client material carefully. Read the privacy information before uploading sensitive files, and do not use a production asset as a reference unless the relevant people or organization have approved that use. Keep a record of the sources, prompts, selected outputs, and human edits for important projects.
Frequently asked questions
Is Kenerate AI easy for beginners?
It can be approachable if you start with one small deliverable. Pick a tool that matches your input, write a short brief with visible success criteria, review the displayed settings and cost, and improve one part at a time. The Agent can help shape a plan when you are not sure which workflow to choose.
Can I use Kenerate AI without writing a detailed prompt?
Yes. Start with a plain-language description of the outcome. Add details only when they affect the result, such as framing, product color, aspect ratio, or motion. The prompt library can provide examples, but you should adapt them to the actual project.
How do I turn a photo into a video?
Choose an image-to-video workflow and a model that accepts the photo. Use a clear source frame, describe one simple movement, choose the supported clip settings, and check the estimate before generating. Review the clip for changes to faces, products, text, and camera stability.
How many credits does a generation use?
There is no single price for every generation. The selected model and settings can affect the displayed estimate. Check the current estimate in the tool and your account balance before submitting; consult the pricing page for current plan and purchase details.
Which model should I choose?
Choose based on task compatibility and your review criteria. For example, compare whether a model follows a camera instruction, preserves a product reference, renders the target format, and fits the budget. Test candidates with the same prompt before deciding.
Can I publish AI-generated work commercially?
That depends on the current service terms, the model provider’s terms, and the rights to the source material. Review those terms and check that you have permission for any people, products, logos, music, or other protected material in the work.
What should I do when a result looks wrong?
Identify the specific failure. If the framing is off, change framing; if the product changes, simplify movement and reinforce the reference; if the output contains bad text, remove text generation and add copy later. If a core detail remains unreliable, try a different compatible model or use a human edit.
A repeatable way to use Kenerate AI
The most reliable workflow is simple: define the deliverable, choose a compatible studio or ask the Agent to plan, prepare authorized source material, write an observable prompt, check the estimate, generate a small draft set, and review each result against the brief. Use deliberate revisions and finish the asset in an editor when exact copy, timing, or brand details matter. This approach gives every generation a purpose and makes the final work easier to approve and publish.